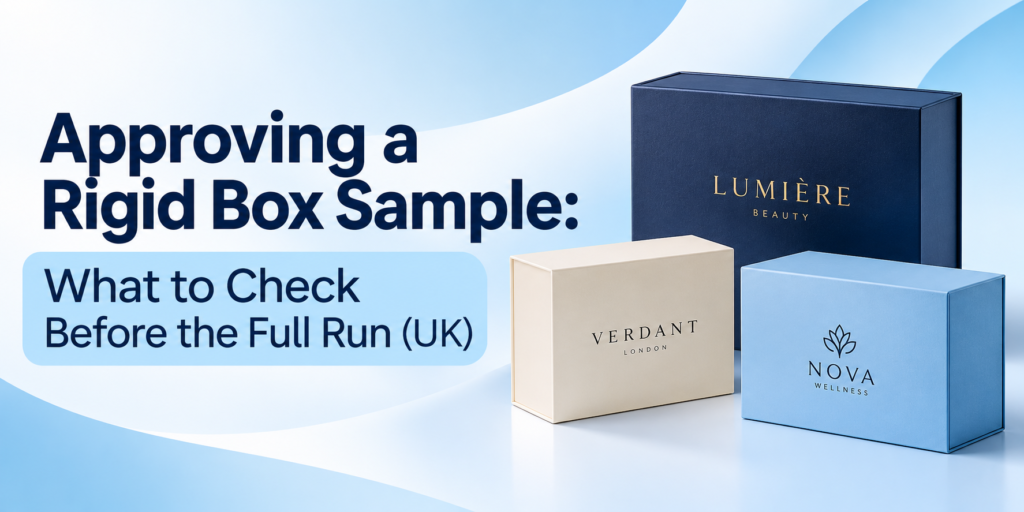
Approving a Rigid Box Sample: What to Check Before the Full Run (UK)
A rigid box sample is approved in two steps: first know what your approval route can and cannot show, then check the box part by part. That means the opening for its style, the insert with your real product, the wrap, corners and finish, and the colour against the proof.
Check everything in one pass if you can. A change after approval needs approving again, and production starts from approval, so each extra round pushes back the start of production.
What each approval route can show
Every order is approved before bulk production. Approval may be based on a digital 3D mock-up, a video of the physical sample, or a physical production sample, depending on the order.
| Route | What it confirms | What it leaves open |
|---|---|---|
| Digital 3D mock-up | Where the artwork sits on each panel, and the proportions of the box | How the board, wrap and finish feel, and how the box moves as it opens |
| Video of the physical sample | The real box opening and closing, the flap or lid settling, the tray sliding | The weight and feel of the box in your hand |
| Physical production sample | All of the above, in your own hands and with your own product | How the full run varies, which the approved sample then becomes the reference for |
Where an order includes a physical production sample, it is charged, and its price and timing are agreed before it is made. If a tight fit or the feel of a finish matters most, say so in your brief, so the approval covers it. What to ask any supplier about samples is covered in our guide to choosing a rigid box manufacturer.
Check the opening for the style
Open and close the box a few times, the way your customer will.
Magnetic flap
The flap should close flat against the front with no gap, the magnets should line up and hold it shut, and the hinge should open fully without the wrap creasing or cracking. See our magnetic closure rigid boxes.
Lift-off lid
The lid should come away in one smooth lift without pulling the base up with it, and go back on without scuffing the wrap. How snug it should be is set out in our clearance and tolerance guide.
Drawer
The tray should slide out and back without catching, stay put when the box is tilted, and come out easily by its ribbon or thumb notch. See our tray and sleeve boxes for the drawer build.
Collapsible
Fold it flat and build it again, the way your packers will, then pack it. Run the tests listed in our collapsible rigid box comparison.
Round
The lid should go on evenly all the way round without tilting, and the wrap seam should sit neatly where it was planned. See our round rigid boxes.
Check the insert with the real product
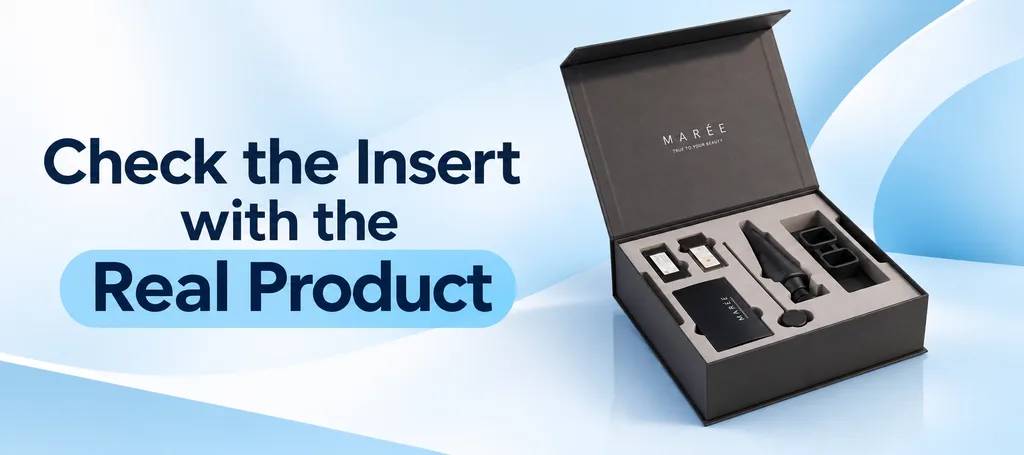
Use the finished product, filled and capped, with anything that travels beside it, such as a card, a leaflet or a second item. An empty box, or a prototype of the product, can hide fit problems.
The product should go in and come out without forcing and stay still when the box is tilted, and nothing should press on a cap, a pump or a label. If it moves, change the insert before the run, not after. The material choice is covered in our comparison of cardboard and foam inserts.
Check the wrap, corners and finish
Look at every corner in good light. The wrap should fold neatly, with no creases, gaps or bare board showing. Feel along the rim and the inside edges for any wrap that is lifting, and look across the surface at a low angle to a light, where glue marks and bubbles show up.
Stand the box on a flat table: it should sit without rocking. A box that rocks may have a warped panel, and our rigid box manufacturing guide explains what causes it.
Where the design crosses the seam and the corners, it should line up; our custom printed rigid boxes page covers planning for both.
Foil and embossing should sit where the artwork places them, with clean edges. Fine foil detail has limits, embossing can show on the reverse, and dark matt surfaces can show scuffing, so check each of these on the sample rather than on screen.
Check the colour against the proof
Compare the sample with the approved proof in the same light, rather than on a phone or monitor. Pantone references and CMYK values can be used to manage colour consistency, subject to normal variation caused by the chosen board, ink, coating and production method. The same colour can look different on two papers, so judge it on the paper you have chosen.
Pack it and send it before you sign off
Pack the sample at the bench as your team will, and time it. If the boxes will be posted, send one in its outer box to your own address and open it when it arrives; our guide Mailer Box vs Shipping Box vs Product Box explains that outer layer.
Then write down what you accept as it is and what must change, so the approval says exactly what the full run should match. Agree who gives the final approval, so there is one clear answer.
Plan the date around approval
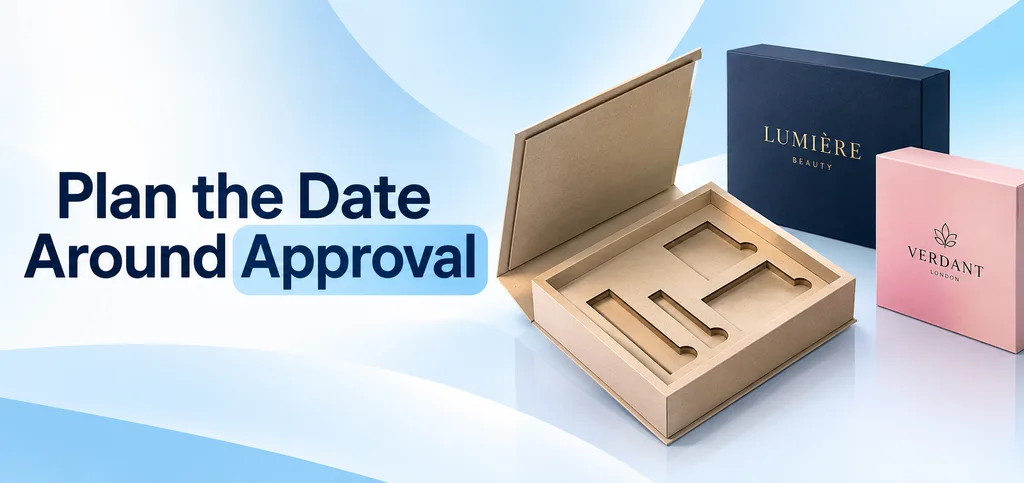
Standard production takes 6 to 8 business days after approval. Delivery time is additional to production. UK delivery usually takes around 4 to 5 business days after production is complete, depending on the delivery address and courier service.
Because production starts from approval, a second sample round moves the start of production as well. Book the time for checking the sample when you plan the order, not at the end.
Keep the approved sample
Keep the approved sample and your notes with the order details. It is the reference if a later run looks different. Approved dielines, specifications and artwork are retained, so a repeat order can be matched to the specification already approved.
Mistakes to avoid
- Approving from a 3D view alone when the fit is tight.
- Checking an empty box, or a prototype of the product.
- Judging colour on a phone screen.
- Approving “with changes on the bulk run” instead of approving the change.
- Leaving the sample check until the week the boxes are needed.
Frequently asked questions
What is a pre-production sample?
A sample made before the full run so the box can be approved. On a rigid box it brings the board, wrap, finish, insert and opening together, and once approved it becomes the reference the run is checked against.
Is a video of the sample enough to approve it?
It can be, depending on the order. A video of the physical sample shows the real box opening and closing. If how a finish feels matters as much as how it looks, say so in your brief.
Is a physical sample free?
No. Where an order includes one, a physical production sample is charged, with the price and timing agreed before it is made.
What happens if the sample needs changing?
Say exactly what must change, then approve the corrected version before the run starts. Production starts after approval, so each round pushes its start back.
Ready to review a sample, or still choosing the box? Get in touch with your product, its size and weight, and the style you have in mind. We make custom printed rigid boxes and the rest of our rigid boxes range with inserts cut to your product.
Orders start from 100 units. Design support is free. A digital 3D mock-up is free. For the quote, send the artwork, the quantity, the delivery postcode and the date the order is needed by.